
Smart lighting schedules are one of the simplest yet most powerful ways to cut energy costs and make everyday life easier in UK homes. With electricity prices rising and daylight hours shrinking in winter, automating when your lights turn on and off can save money, improve security, and reduce hassle.
This guide explains how to set up smart lighting schedules step‑by‑step, explores advanced features, and shares practical tips to help you get the most out of your smart home devices.
✍️ Author Insight – Andrew
I’ll be honest — the whole idea of smart lighting schedules only clicked for me after one winter when my electricity bill landed and it was way higher than I expected. Living in a UK flat, those long, gloomy evenings meant the lights were on constantly, even when nobody was actually using them. It drove me mad. So I set up a simple timed routine, and straight away I could see how much energy I’d been wasting. If you only do one thing, make sure your lights switch off automatically at bedtime — it’s the easiest win you’ll ever get.

💡 Why Smart Lighting Schedules Matter
Lighting automation isn’t just about convenience — it solves real problems in UK households. In many UK homes, scheduled lighting makes winter evenings feel cosy without running up the electricity bill.
- Energy savings: Lights switch off automatically, reducing wasted electricity.
- Seasonal comfort: Winter evenings arrive early, so scheduled lighting keeps homes cosy without constant manual switching.
- Security boost: Timed lights make your home look occupied when you’re away.
- Convenience: No more forgetting to turn lights off at bedtime.
- Adaptability: Works in rentals, older homes, and modern builds alike.
🔌 What You’ll Need
To set up smart lighting schedules, you’ll need:
- Smart bulbs, plugs, or switches (UK 3‑pin format for plugs).
- Smart home app (Alexa, Google Home, Tapo, Hue, Meross).
- Optional extras: motion sensors, hubs, or dimmable bulbs for advanced routines.
📅 Step‑by‑Step: Setting Up Smart Lighting Schedules
1. Choose Your Device
The first step is deciding which smart lighting device suits your home setup:
- Smart plug + lamp:
- Best for renters or anyone who doesn’t want to rewire.
- Works with any lamp you already own — just plug it in.
- Great for hallways, bedrooms, or stairwells where you want simple on/off control.
- Smart bulb:
- Offers built‑in dimming and colour control.
- Ideal for living rooms, bedrooms, or spaces where ambience matters.
- Requires replacing your existing bulb, so check socket compatibility (E27, B22, GU10 etc. in UK homes).
- Smart switch:
- Controls existing ceiling lights or wall fixtures.
- Best for homeowners who want permanent integration.
- Requires installation, sometimes by an electrician, so less renter‑friendly.
👉 Tip: Start small. A single smart plug or bulb is enough to test schedules before expanding to multiple rooms.
2. Connect in the App
Once you’ve chosen your device, connect it to your smart home app:
- Download the app (Alexa, Google Home, Tapo, Hue, Meross, etc.).
- Add the device by following the in‑app instructions — usually involves pressing a pairing button or scanning a QR code.
- Name devices clearly: Instead of “Light 1,” use “Hall Lamp” or “Bedroom Light.” This makes automation easier later.
- Group devices logically: For example, “Living Room Lights” can include multiple bulbs or plugs.
👉 Tip: Keep names short and descriptive. Voice assistants like Alexa respond better to simple names.
3. Create Basic Schedules
Now set up your first routines:
- Morning routine:
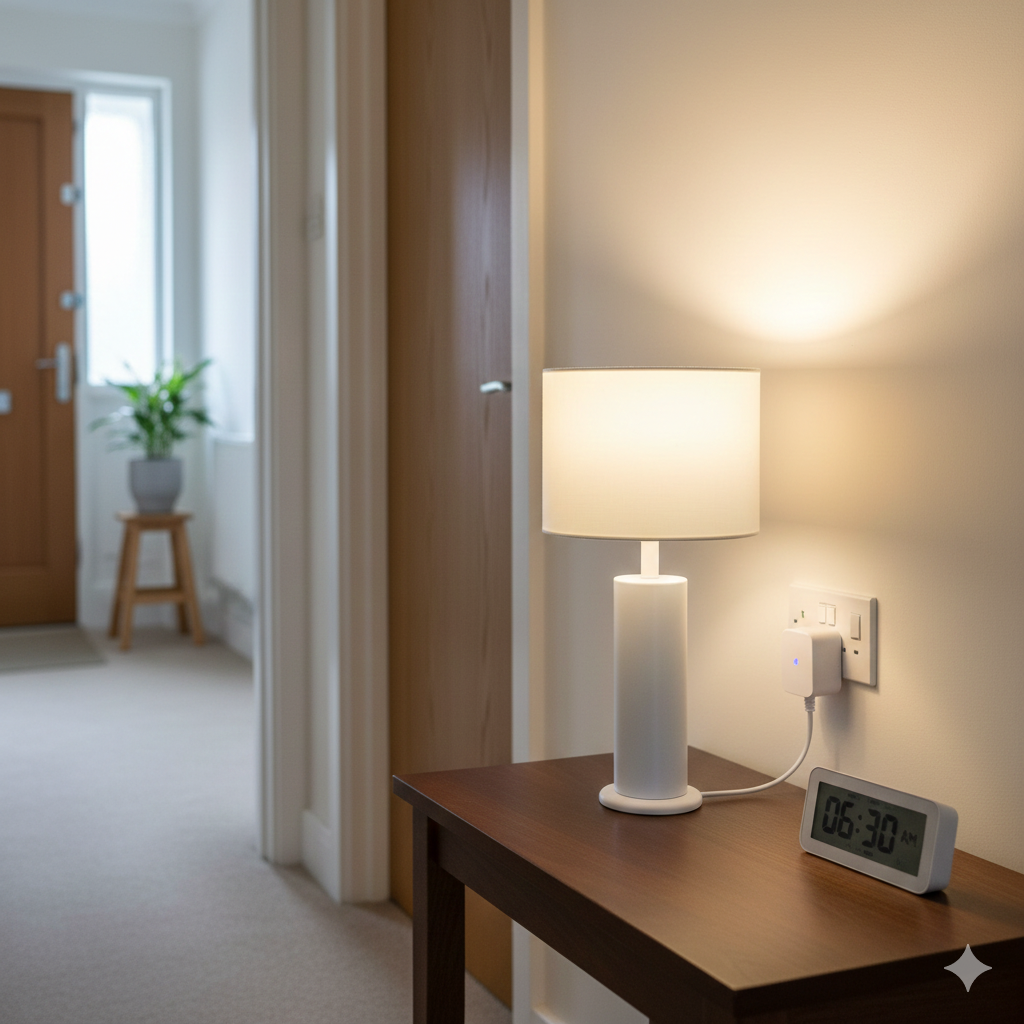
- Lights on at 6:30am to help you wake up.
- Use gradual brightening if your bulb supports dimming.
- Perfect for dark winter mornings in the UK.
- Evening routine:
- Lights on at sunset (apps can detect local sunset times automatically).
- Lights off at bedtime, e.g. 11pm.
- Creates comfort while ensuring lights don’t stay on all night.
- Away mode:
- Randomised on/off patterns to simulate occupancy.
- Great for holidays or weekends away.
- Adds a layer of security without extra effort.
👉 Tip: Always test schedules for a few days to see if they match your lifestyle.
4. Add Conditions
Basic schedules are useful, but conditions make them smarter:
- Sunset/Sunrise triggers:
- Instead of fixed times, link lights to natural light changes.
- Automatically adapts to daylight savings and seasonal shifts.
- Ambient light detection:
- Some sensors can measure brightness.
- Only trigger lights if the room is dark enough.
- Weekday vs weekend routines:
- Early morning lights for weekdays.
- Later start times for weekends.
- Keeps routines flexible for family life.
- Layered automation:
- Combine schedules with motion sensors.
- Example: Lights turn on at sunset but only if someone enters the hallway.
👉 Tip: Start with one condition (like sunset) before layering multiple — too many rules can cause conflicts.
5. Test & Refine
Testing is crucial to make sure your schedules work smoothly:
- Walk through your home at scheduled times.
- Check response speed: Lights should activate within seconds.
- Adjust timers: If lights stay on too long, shorten the duration. If they switch off too quickly, extend it.
- Reposition sensors: If using motion detection, angle sensors away from windows or heat sources to avoid false triggers.
- Monitor energy use: Many apps show usage stats — use these to fine‑tune schedules for maximum savings.
👉 Tip: Treat the first week as a trial run. Adjust until the schedules feel natural and effortless.
🧩 Putting It All Together
By following these steps, you’ll have:
A tested, refined system that saves energy and fits your lifestyle.
Devices chosen and installed.
Clear names and groups in your app.
Basic schedules for morning, evening, and away mode.
Smart conditions like sunset triggers or weekday/weekend routines.
🧠 Advanced Scheduling Strategies
Once you’ve mastered basic on/off routines, you can layer in smarter features:
- Sunset/Sunrise Automation: Instead of fixed times, link schedules to natural light changes. This adapts automatically to daylight savings and seasonal shifts.
- Gradual Brightening: Use dimmable smart bulbs to mimic sunrise in the morning, helping you wake naturally.
- Scene Scheduling: Combine multiple lights into a “scene” (e.g. evening ambience) and schedule it to activate at sunset.
- Conditional Routines: Only trigger lights if motion is detected, or if ambient light is below a certain level.
- Holiday Mode: Randomise lighting patterns to simulate occupancy when you’re away.
- Layered Automation: Combine schedules with motion sensors — lights turn on at sunset but only if someone enters the room.
🏡 Practical Scheduling Ideas
Here are some useful routines UK households can set up:
- Morning boost: Lights brighten gradually at 6:30am to mimic sunrise.
- Evening ambience: Dim lights at sunset for a cosy atmosphere.
- Security mode: Randomised lighting when you’re away on holiday.
- Energy saver: Lights off automatically after 11pm.
- Weekend routine: Later schedules for family lie‑ins.
- Children’s bedtime: Lights dim at 8pm to signal winding down.
- Bathroom night light: Low‑level light scheduled between midnight and 6am.
⚠️ Common Mistakes to Avoid
- Forgetting daylight savings adjustments: Use sunset/sunrise triggers to avoid manual changes.
- Overcomplicating routines: Start simple, then layer in conditions.
- Using incompatible devices: Stick to one ecosystem for smoother automation.
- Leaving lights on too long: Set timers to switch off after short periods.
- Poor naming conventions: Name devices clearly to avoid confusion in the app.
🧰 Troubleshooting Tips
Even the best smart lighting setups can run into hiccups. Here’s how to fix common issues:
- Lights not turning on/off: Check Wi‑Fi connection and confirm schedules are active in the app.
- Schedules not syncing: Restart devices and re‑save routines.
- Wi‑Fi dropouts: Use a Wi‑Fi extender in older UK homes with thick walls.
- False triggers: Angle sensors away from windows or heat sources.
- App confusion: Keep devices grouped logically (e.g. “Living Room Lights”).
📊 Cost & Savings Estimate
| Item | Approximate Cost |
|---|---|
| Smart Plug | £10–£20 |
| Smart Bulb | £15–£30 |
| Smart Switch | £25–£50 |
| Total Setup | £30–£80 |
Savings: £25–£50 annually on electricity, plus added convenience and security.
🌍 Energy Efficiency Context
Smart lighting schedules aren’t just about convenience — they directly support UK households facing high energy costs. By automating lights to switch off when not needed, you reduce wasted electricity. Pairing schedules with LED bulbs maximises savings, as LEDs consume far less power than halogen or incandescent bulbs.
For example:
- A 10W LED bulb scheduled to run 3 hours less per day saves around 11kWh per month.
- At UK average electricity rates, that’s roughly £3–£4 saved monthly per bulb.
- Multiply across multiple rooms, and savings add up significantly.
🔗 Next Reads — 💡 Smarter Lighting Ideas
Smart lighting schedules are just one piece of the puzzle. To take your setup further, explore Best Smart Light Strips UK (For Under Cabinets & TVs) for flexible ambience and practical kitchen lighting, and How to Automate Lighting With Motion Sensors & Smart Plugs (Step-by-Step UK Guide) to add motion-triggered convenience. Together, these guides help you build a complete, energy‑efficient smart home.
🏁 Conclusion
Smart lighting schedules are a simple, affordable way to save energy and make UK homes more comfortable. Whether you’re a renter using smart plugs or a homeowner with smart bulbs, scheduling lights to match your lifestyle pays off in convenience, security, and lower bills.
Start small — one lamp or one room — and expand gradually. Use sunset/sunrise triggers to keep routines aligned with natural light, add timers to prevent waste, and explore advanced features like gradual dimming or layered automation.
By letting your lights work for you, not the other way around, you’ll enjoy a home that feels smarter, safer, and more efficient every day.
Brighten your home and lower your bills with the Smart Home Tech & Lighting Hub explore smart bulbs, motion sensors, and rechargeable gadgets that make efficiency easy.
If you want straightforward, non-commercial advice on cutting bills and understanding UK energy costs, Citizens Advice has excellent resources.

About The Author – Andrew Marshall
Andrew Marshall is a Scottish homeowner and the creator of Save Wise Living. He shares practical ways to reduce energy bills, improve home efficiency, and make everyday household routines cheaper and simpler.