
Goal, benefits, and the cheapest way to start
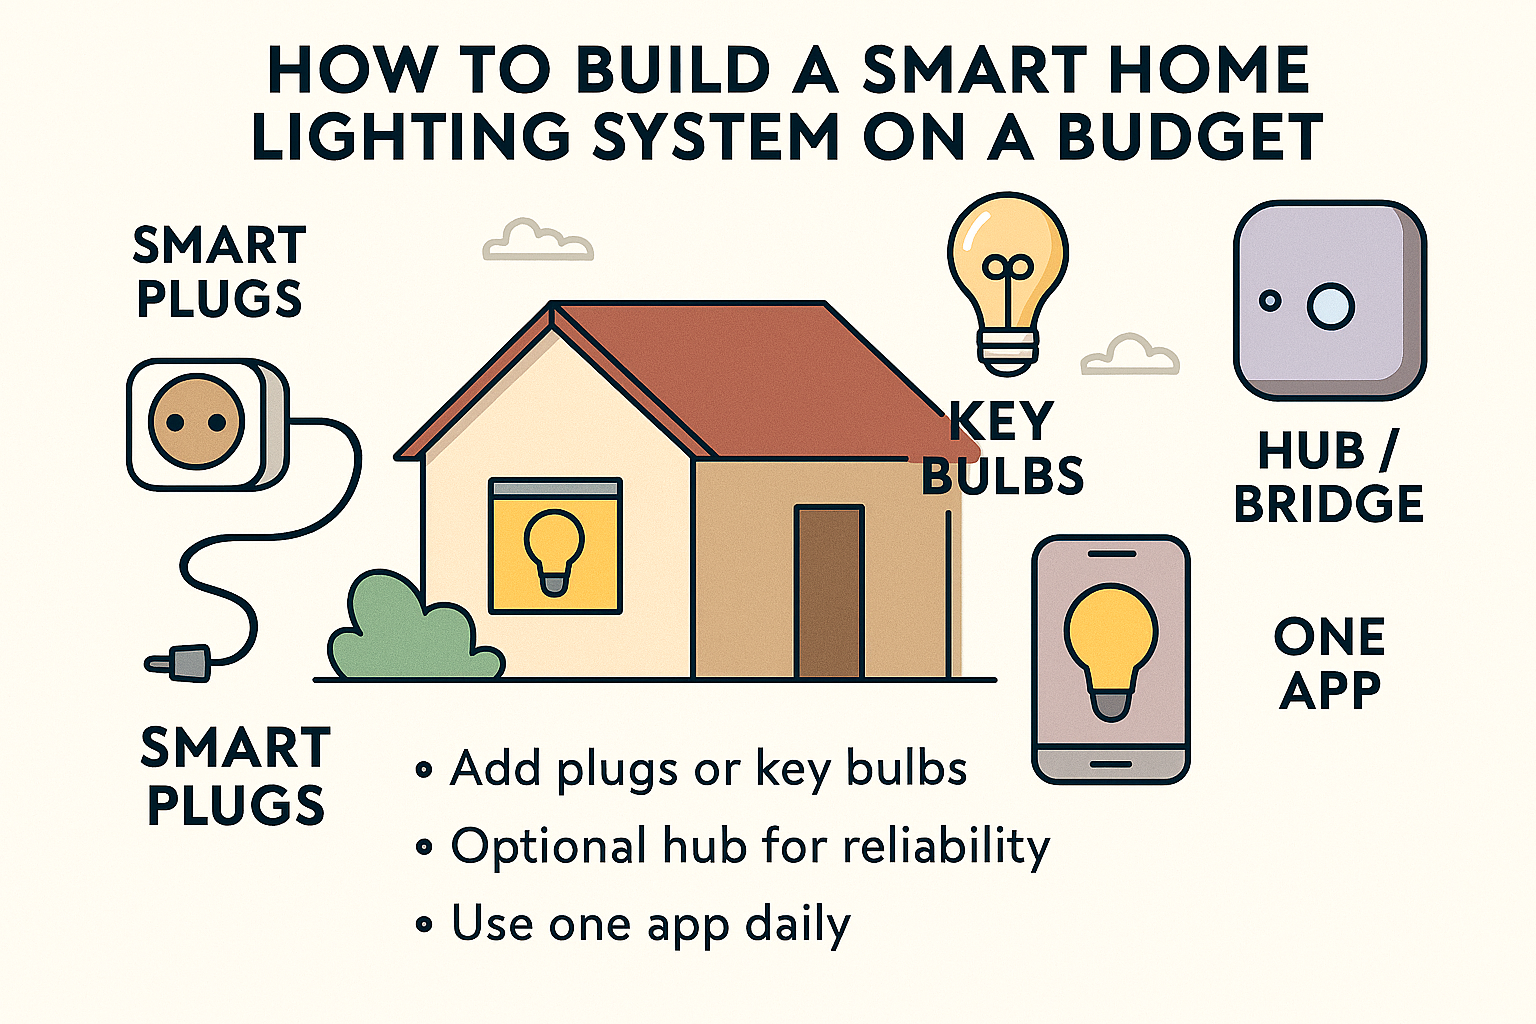
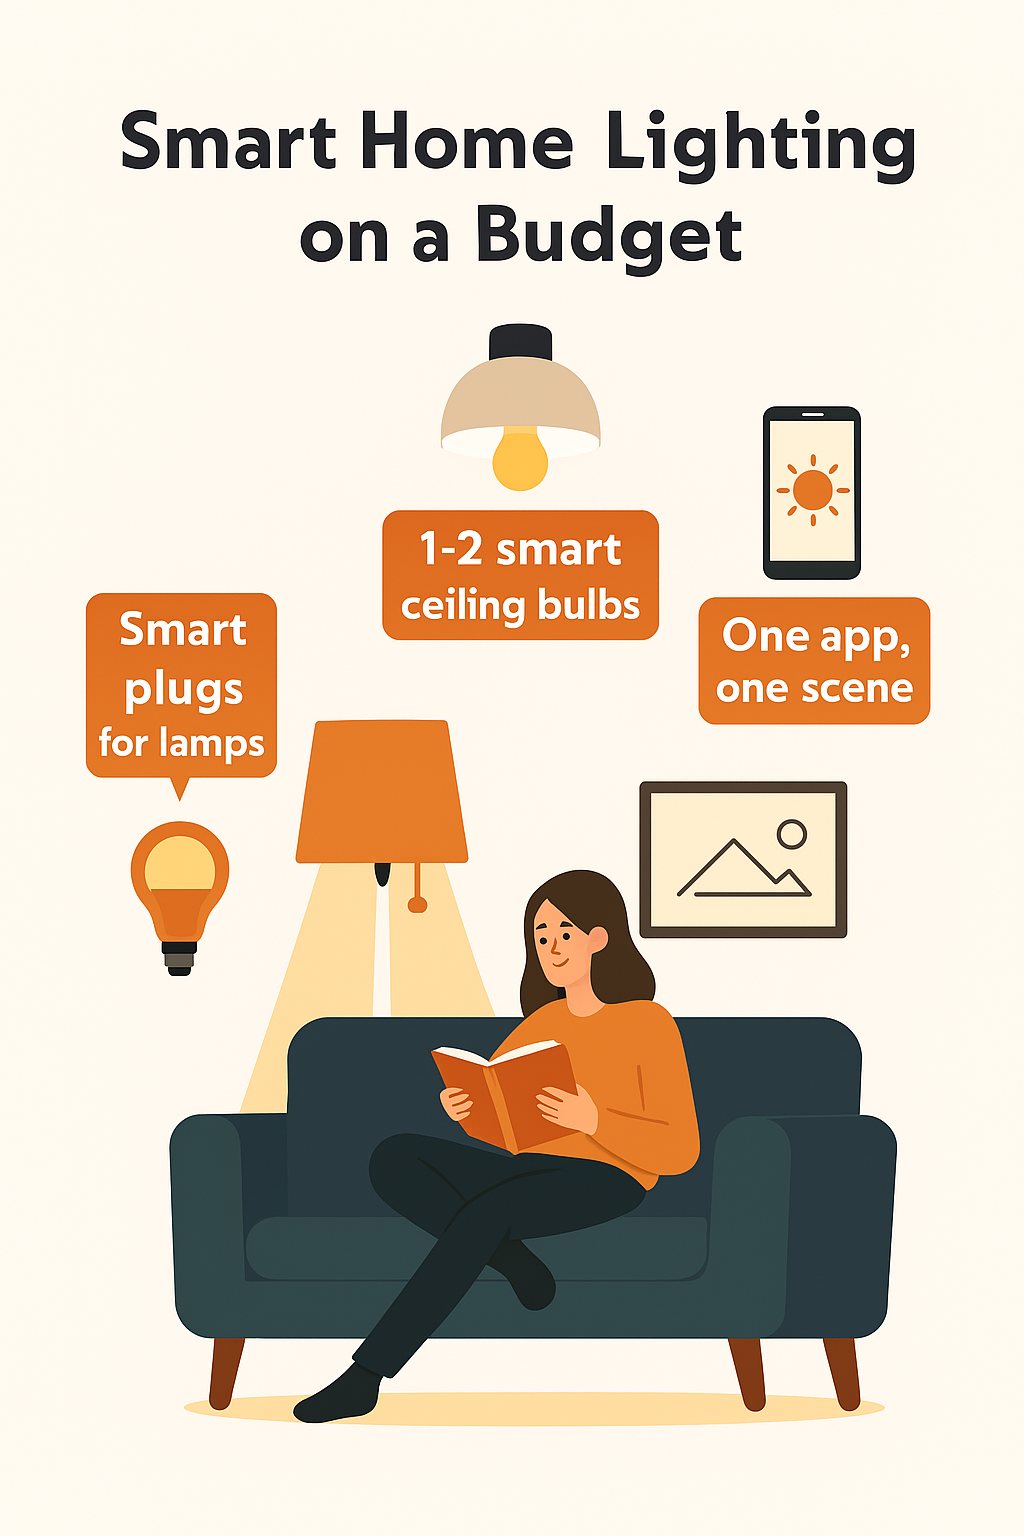
Smart lighting means you control lamps and ceiling lights from your phone, voice, or automatic routines. Done well, it saves energy, adds comfort, and makes evenings feel smoother. On a budget, the smartest path is to start small with a few plugs or bulbs, unify them in one app, and build a simple “Evening” scene. You don’t need expensive kits or an electrician for most setups.
✍️ Author Insight
When I first tried budget smart bulbs, I thought saving money meant sacrificing performance. The surprise was how much dimming them to 40% cut my electricity bill without making the room feel dark. The catch? In my lounge, the Wi‑Fi bulbs sometimes lagged because of too many devices on the router. My workaround was adding one Zigbee plug as a repeater and shifting a few lights off Wi‑Fi. That tiny change made the system faster and more reliable — proof that even budget setups benefit from a little planning.
Pick your control method (keep it simple)
- Wi‑Fi bulbs and plugs:
- Good for beginners: Cheap, easy to install, no hub needed.
- Trade‑off: Each device uses Wi‑Fi; too many can become laggy.
- Zigbee or Thread bulbs/plugs (via a bridge or hub):
- Benefit: More reliable as you add devices (they form a mesh).
- Trade‑off: You’ll need a bridge/hub (e.g., Hue Bridge, compatible hub).
- Smart switches and dimmers:
- Benefit: Keep existing bulbs, control the circuit at the wall.
- Trade‑off: May require neutral wire or an electrician; check UK wiring.
For tight budgets, start with Wi‑Fi plugs for lamps and one or two smart bulbs. If you plan more than ~8–10 devices, consider a Zigbee/Thread route for reliability.
Spend where it matters, save where it’s fine
- Spend a bit more on:
- Bulbs you’ll use daily (living room, kitchen).
- One solid bridge or hub if you’re expanding (it prevents headaches).
- A few mains‑powered devices (bulbs/plugs) to strengthen the network.
- Save on:
- Accent lamps that can be simple on/off via plugs.
- Rarely used rooms (hall cupboard, utility) — keep those basic.
- Fancy colours — warm white plus dimming covers most needs.
Start with a simple room plan
- Lounge: 2 lamps on smart plugs + 1 smart bulb in the main ceiling fitting.
- Hallway: 1 smart bulb with a motion routine after sunset.
- Bedroom: 1 dimmable smart bulb (warm light for wind‑down).
- Kitchen: Keep it manual if on a tight budget; add later.
This gives you the “Evening” feel fast while costing less than refitting the whole home.
Installation basics (step by step)
- Choose the app you’ll use daily. Pick one primary platform (Alexa, Google Home, Apple Home) to control everything. Brand apps are fine, but one central app avoids juggling.
- Name devices clearly. “Lounge Lamp,” “Hall Light,” “Bedroom Light.” Avoid duplicates like “Light 1.”
- Place routers and hubs smartly. Put the router/hub centrally, away from metal cabinets or the meter cupboard.
- Add mains‑powered devices first. Bulbs and plugs create the backbone. Then add battery devices (motion, door sensors) if needed.
- Group lights and create a scene. Make an “Evening” scene: lounge 40% warm, hall 20% warm, bedroom 30% warm.
- Test voice and app control. Check names and responsiveness. Tweak brightness until it feels comfortable.
Budget tiers you can copy
- Starter (~lowest spend):
- 2 smart plugs for lamps + 1 smart bulb for the lounge ceiling.
- One app (Alexa/Google/Apple).
- Create one “Evening” scene and one “Movie” scene.
- Practical (~mid spend):
- Add one hallway bulb + a motion routine after sunset.
- Add a bedroom dimmable bulb with wind‑down scene.
- Optional: a small bridge/hub if you plan >8 devices.
- Solid (~still budget‑friendly):
- Add a couple of Thread/Zigbee bulbs/plugs to strengthen the mesh.
- Set presence‑based routines: when you arrive, turn on hallway at 30%; when you leave, switch off non‑essential lamps.
- Add a cheap smart button by the sofa for “All Off.”
Routines that make it feel premium (without premium cost)
- Evening lighting: After sunset, set lounge to 40% warm; hallway to 20%; bedroom to 30% warm. Low, cosy lighting saves energy and feels calmer.
- Movie mode: Lounge lamps 10% warm, ceiling off. Easy on eyes, no glare on the TV.
- Wind‑down: Bedroom shifts to very warm light at 15% after 10:30pm for sleep‑friendly ambience.
- Away mode: When nobody’s home, turn off non‑essential lights and plugs. Add a single lamp schedule if you want “occupied” look, but keep it minimal.
Energy and cost tips that actually help
- Dim more, save more: Dimming LEDs reduces power usage significantly. 40% vs 100% is a meaningful cut without feeling dark.
- Warm white over constant colour: Colour effects are fun but can lead to higher brightness to “look right.” Warm white at lower brightness is cheaper to run.
- Use lamps for flexibility: Lamps on smart plugs give instant smart control without replacing ceiling fixtures.
- Don’t over‑automate: Every routine adds complexity. Keep core scenes simple so they don’t break.
If you want straightforward, non-commercial advice on cutting bills and understanding UK energy costs, Citizens Advice has excellent resources.
https://www.citizensadvice.org.uk/energy/
When a smart switch is the best move
- You have multiple bulbs on one circuit: A smart switch controls them all at once without replacing every bulb.
- Family keeps turning wall switches off: Smart bulbs go “dumb” if the switch is off. A smart switch fixes the habit conflict.
- Check wiring first: Many smart switches need a neutral wire. If you’re unsure, consult an electrician. For rental or no‑neutral setups, consider battery‑powered remotes/buttons paired with smart bulbs.
Avoid common UK pitfalls
- Thick walls and odd layouts: Add a mains‑powered bulb or plug halfway between the hub and the far room to act as a repeater. It stabilises everything.
- Cold lofts/garages: Don’t place hubs or repeaters there. Temperature swings can make devices flaky.
- Overloaded Wi‑Fi: If things feel slow, move some lights to Zigbee/Thread via a bridge/hub. It offloads Wi‑Fi.
- Too many brands, too many apps: Stick to one main app. Link brand bridges into it for unified scenes.
Accessories that multiply value for little cost
- Smart buttons/remotes: One by the sofa for “Evening” and “All Off.” Faster than opening an app.
- Motion sensor in the hallway: After sunset, turn on at 20% for safe, cheap navigation.
- Smart plug on a floor lamp: Instant smart control without swapping the bulb.
- Cheap LED strips (warm white): Under‑shelf or behind TV at low brightness adds cosy feel with tiny energy use.
Maintenance for long‑term reliability
- Update firmware in daytime: If something glitches, you’re awake to fix it.
- Keep names and rooms tidy: Clear naming avoids broken routines and voice confusion.
- Back up your hub (if supported): One snapshot saves hours if you reset.
- Review scenes seasonally: Adjust brightness and times as daylight changes.
Example plans you can use today
Small flat, minimal cost
- Lounge: 2 smart plugs for lamps + 1 smart bulb for ceiling.
- Evening scene: 40% warm; Movie scene: ceiling off, lamps 10%.
- Add a smart button for quick control.
Terraced house, reliable mesh
- Add one Zigbee/Thread plug in the hall as a repeater.
- Hall motion routine after sunset at 20% brightness.
- Bedroom wind‑down at 15% warm from 10:30pm.
Family home, simple control
- Smart switch for lounge ceiling (multiple bulbs on one circuit).
- Smart bulbs in bedrooms for dim wind‑down.
- “Away” scene turns off non‑essentials and leaves one hallway lamp at 15% until 9pm.
Related Smart Home Guides 💡
Once you’ve set up budget‑friendly smart lighting, the next step is connecting everything into a reliable system. Our guide on Best Smart Hubs & Bridges UK (Connect Lights, Locks & Sensors) explains which hubs make lights, locks, and sensors work together seamlessly. And if you’re ready to simplify control, How to Connect All Smart Devices in One App (Beginner’s UK Guide) shows how to unify gadgets into one dashboard for smoother routines.
Troubleshooting quick fixes
- Light doesn’t respond: Check power at the wall; rename device to a unique name; re‑add it to the app.
- Routine feels slow: Reduce cloud hops; keep core scenes local where possible; add a repeater device between hub and far room.
- Voice assistant gets confused: Use distinct names per room and avoid calling multiple devices just “Light.”
- Bulb flicker on dim: Some cheap bulbs don’t dim smoothly. Use fixed low brightness (e.g., 25%) or swap that one bulb for a better dimmable model.
Final budget strategy
Start with lamps on smart plugs and one or two smart bulbs in key rooms. Build one great “Evening” scene you love, then a “Movie” and “Wind‑down.” If you expand, add a bridge/hub and a few mains‑powered devices to strengthen the network. Keep names tidy, avoid over‑automation, and place devices where the signal stays healthy. That’s how you get a cosy, reliable smart‑lighting setup without overspending.
Brighten your home and lower your bills with the Smart Lighting & Power Saving Tech Hub explore smart bulbs, motion sensors, and rechargeable gadgets that make efficiency easy.

About The Author – Andrew Marshall
Andrew Marshall is a Scottish homeowner and the creator of Save Wise Living. He shares practical ways to reduce energy bills, improve home efficiency, and make everyday household routines cheaper and simpler.